Discover the
Modern
WordPress with WordVell

WordPress Telex AI: The Ultimate Practical Prompting & Usage Guide You Can’t Afford to Miss
Curious about what WordPress Telex AI actually does well and how to get it to work for you instead of just experimenting blindly?
You’re not alone.
In this guide, we’re diving into what Telex AI is really good at, how to write practical prompts that get results, and simple strategies you can use today to make it part of your WordPress workflow.
By the end, you’ll walk away with:
• A ready-to-use Bento Grid prompt
• A downloadable plugin to test it instantly
• A QA checklist to keep things clean
• And a quick breakdown of known quirks to avoid
Sound good? Let’s get into it.
Quick intro to, Why this guide exists
Telex makes it possible to describe a UI or block in plain language and get a working WordPress block package back, previewed in the browser and downloadable as a plugin.
For WordPress developers this is a new way to prototype UI blocks, produce examples for teaching, and generate small utility blocks quickly. That speed is powerful but it must be balanced with testing, review, and minor edits before shipping. The goal here is practical guide to use telex AI effectively
What Telex does for you as WordPress AI chatbot ?
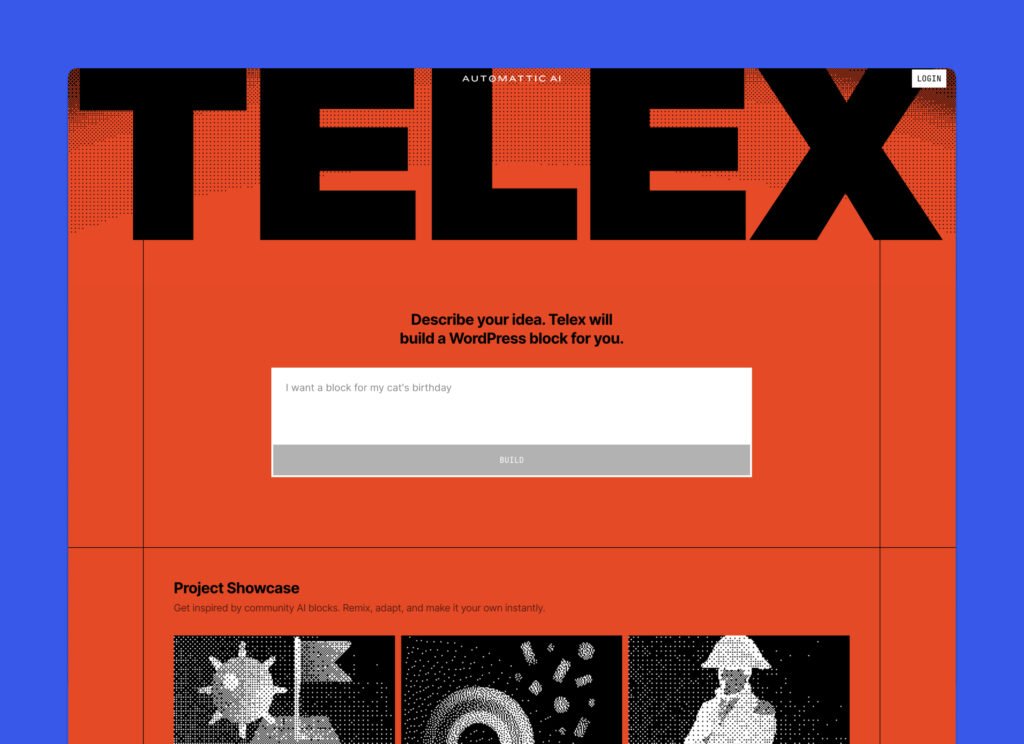
Telex is an experimental tool that turns natural language prompts into Gutenberg block plugin. You describe the block you want, Telex builds the block package, shows a live preview, and offers a downloadable zip so the plugin can be installed on a WordPress site.
The interface also supports short follow-up prompts and direct code edits in a code view, which makes iteration quick. (WordPress.com)
Why that matters to us as WordPress developers
• It reduces the repetitive setup for small blocks. Starter files such as block.json, edit and save scripts, and basic styles can be produced automatically. (WordPress.com)
• It gives a fast way to produce examples for documentation or teaching.
• It accelerates exploration and design validation.
Treat Telex as a rapid prototyping tool. Expect to review and tighten the output before it reaches production.
How to think about prompting WordPress Telex AI
A prompt is a feature brief, not a brainstorming note. The clearer the brief, the cleaner and more usable the generated code will be. We use a short, structured approach that keeps the generator focused and the result easy to test.
A simple prompting approach
1. Start with a one-sentence problem statement. What should this block solve for editors or visitors.
2. List required features as short bullet points. One line per feature.
3. Describe editor controls and the data model. Be explicit about fields and their types.
4. State exact markup rules you expect on the frontend. Use tag names where it matters.
5. Call out accessibility and performance requirements. Keep these short and concrete.
6. Ask for demo content and a minimal QA checklist to make testing fast.
It starts with the problem, points out the impact, and ends with a clear call to action for the tool. That makes it easier for Telex to produce focused code.
Practical prompting principles that work every time
You should Keep prompts small, repeatable, and testable. The single biggest cause of messy outputs is a gigantic, unfocused prompt that asks for many unrelated features at once. Use iterations.
Do this instead of that
1. Instead of a long, multi-feature prompt, send a focused prompt for one feature and then follow up.
2. Instead of “make it accessible”, list the access requirements: alt text required, keyboard focus visible, aria labels for controls.
3. Instead of “use theme styling”, ask for CSS variables and prefer currentColor to ensure text inherits site typography.
Small follow-ups beat huge rewrites
After the initial build, request one change per follow-up. That keeps the generator from reinterpreting unrelated parts of the package and makes diffs smaller and safer.
1. Ask for demo content and a QA checklist up front
Demo content speeds review. A three-item demo makes functional tests short. A two to five item QA checklist ensures you do the right quick checks before installing on staging.
2. Bento Grid example, ready to paste into Telex
Below is a single prompt tuned to produce a Bento style grid block. Paste it into Telex exactly as written. The prompt is intentionally scoped so the generated plugin is easier to inspect and test.
Prompt to paste into Telex AI
Build a WordPress block named “Bento Grid 5” as part of a custom block collection. The block must generate a complete 5-item Bento grid layout with two rows and a three-column structure. The first row should include two items, where the first item spans 70% width and the second item takes the remaining 30%. The second row should have three items, each taking one-third of the row. The layout must be full-width and responsive, stacking all items vertically on mobile with proper spacing and full-width images. This should be a true Bento grid, not a simple card layout. Each item must include a full-width image, title, description, and a clickable link icon or button (only if a URL is provided). Customization options in the block editor sidebar must include image upload, title, description, link URL, toggles for showing or hiding description and icon, and an optional custom class per card. The block must appear under a custom category such as “Custom Blocks” or “Bento Layouts” with all fields editable through inspector controls. Include a style dropdown with at least two design templates: “Modern Light” (light grey background, soft shadows, black text) and “Bold Dark” (black background, green text #BFFF00, white icons). Use semantic HTML with ul > li, figure > img, h3 for titles, and p for descriptions. Icons should be SVG or web fonts like Dashicons. Use CSS variables like –card-gap and –card-radius and respect theme styles using only relative units. Images must include loading=”lazy” and alt attributes. Provide five pre-filled demo cards with varied placeholder content, visible by default when inserted. Package the plugin as a complete ZIP with a plugin header file, block.json, editor JS and CSS, frontend JS and CSS, and a readme file containing a usage guide and QA checklist. Ensure the block is responsive across devices, editor preview matches frontend, no external JS frameworks are used, and the code remains clean, testable, and extendable.
Output of the prompt given to WordPress Telex AI

Download Bento Grid Block Plugin
Tested and ready for staging environments. Please review before using on a live site.
5 Key Tips for Writing Good Telex AI Prompts
1. Be specific with what you want
Avoid vague instructions like “create a beautiful layout.” Instead, clearly describe the structure and behavior. For example, say “two rows where the first row has 2 items side by side, and the second row has 3 equal-width items.”
2. List all Block editor fields clearly
If the block needs custom fields, define each one directly. Use a clear list format. For example: image upload, title input, description field, link URL, visibility toggle for elements, and custom class.
3.Explain the layout and HTML markup in detail
Always mention how the block should be structured using actual HTML tags like ul, li, figure, img, h3, and p. Include layout rules such as width percentages, number of columns, mobile behavior, and responsiveness.
4. Ask for dummy content to be included by default
Tell Telex to include sample content such as placeholder images, text, and links. This allows you to see how the layout behaves right away and avoids the need to build the block manually after generation.
How to review the generated plugin quickly
A five minute review will catch most issues and save your time.
1. Open plugin header and readme. Confirm plugin name, slug, and tested WP version.
2. Check block.json for correct attributes and enabled editor scripts.
3. Inspect edit.js and save.js. Confirm the editor UI matches the data model in the prompt.
4. Check style.css for CSS variables –bento-gap and –bento-radius. Confirm no site-wide font overrides.
5. If package.json exists run a local build: npm install then npm run build and watch for missing dependencies.
6. Install the zip on a staging site and activate. Watch for admin errors.
7. Add three demo cards, toggle the column setting, and confirm the frontend uses semantic tags and images have loading lazy.
If you follow these steps ,they will uncover the majority of issues quickly.
Common limitations of WordPress Telex AI and how they affect prompts
Telex is powerful but not perfect. Knowing its limits helps us write prompts that produce useful results without surprises.
1. Non determinism
Running the same prompt multiple times can yield slightly different code. Save a working version and track changes in version control. (WordPress.com)
2. Nested inner block patterns
Complex parent-child block structures, for example a Slideshow parent with many Slide child blocks, are fragile. If a feature relies on nested inner blocks plan to make edits by hand or split the work into smaller parts. (WordPress.com)
3. Build tool assumptions
some generated packages assume a local JavaScript toolchain and include a build step. If a drop-in ready plugin is required, request prebuilt assets in the initial prompt. Otherwise run the local build before installing. (WordPress.com)
4. Styling and theme fit
Telex often produces minimal, theme friendly styles. That is good for compatibility but you may want to add more design polish to match a specific theme. Use CSS variables in the prompt to make overriding easy.
5. Not a security auditor
Generated code is not audited. Sanitize and escape all user input. Add capability checks for any server side actions. Treat generated code as a first draft that requires review.
These limitations come from the current experimental state of the tool. They are practical constraints, not blockers.
Troubleshooting and focused fixes that work fast
When something fails, do a focused repair cycle.
1. Capture the exact error or console output. The error text is the roadmap.
2. Re-prompt with the exact file and error. For example: “Fix the build error in src/index.js. Error: Cannot find module ‘x’.”
3. Ask for minimal changes only. Avoid re-requesting unrelated features.
4. If the editor throws a runtime error, copy the browser console error and the affected file lines. Ask to fix those lines.
5. Your internet speed can affect Telex AI’s performance. Since a slow or unstable internet connection may interrupt the generation process or prevent the output from loading properly.
One small fix per prompt reduces the chance of regressions and helps Telex converge quickly.

Minimal QA checklist before production deployment
1. Install plugin zip on a staging site and activate. Confirm no fatal errors.
2. Run local build if package.json exists and confirm npm install success.
3. Add three demo cards and try each block control. Verify images are lazy loaded and links behave.
4. Confirm keyboard navigation and visible focus outlines. Check alt text for all images.
5. Verify server side escaping and sanitization for saved attributes.
6. Open dev tools network tab and confirm there are no large unexpected assets or external libraries being loaded.
7. Test the plugin in two different themes to confirm the block inherits typography and spacing.
8. Backup the live site before installing on production.
Following this list you can reduce the risk of shipping problems.
When to use Telex and when to code
Good choices for Telex
• Fast starter for simple UI blocks.
• Prototypes and teaching examples.
• Rapid exploration of ideas with a client.
When to write code manually
• Complex server side logic that involves authentication or payments.
• Highly optimized production code that requires a security audit.
• Deeply nested block architectures that are central to the feature.
Use Telex for the first pass. Then apply the review steps above to move from prototype to production.
Wrapping up
This guide showed how WordPress Telex AI turns plain language into working WordPress block plugin, speeds prototyping for you as WordPress developer who uses block development, and produces starter files to get projects moving faster.
When we give clear, focused prompts and iterate with small follow ups, Telex delivers usable, testable code. Always run a quick QA pass for accessibility, security, and theme fit before deploying.